地图编辑器制作
基本功能
参考资料 MDN 瓦片地图教程(一个瓷砖地图包含的基本元素)
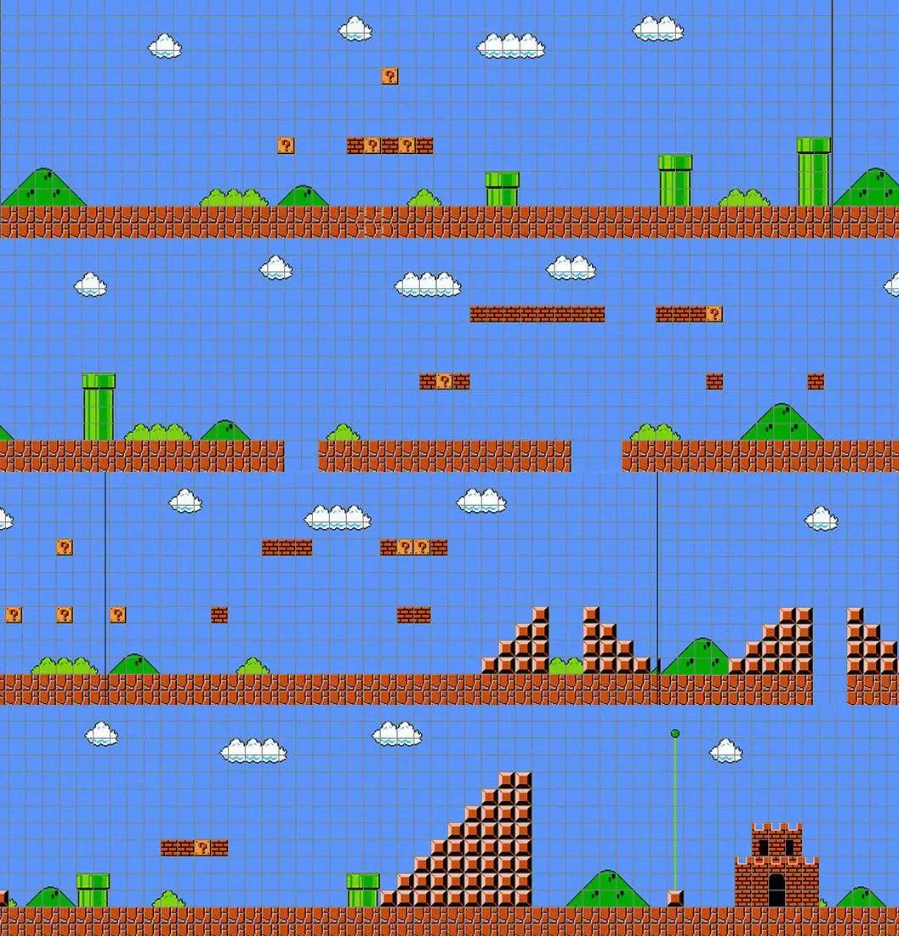
地图大小参考
52 * 4 = 208
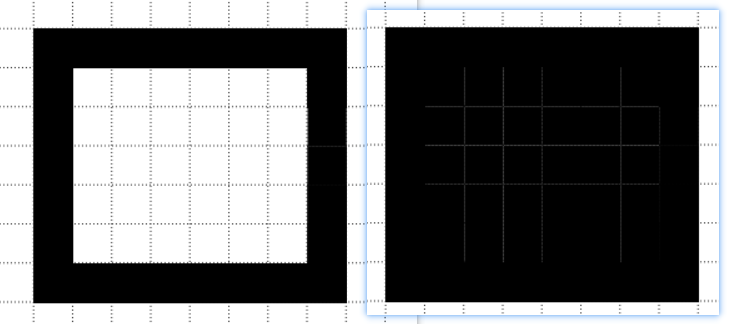
绘制网格
<style>
  canvas {
    border: 1px solid black;
  }
</style>

<canvas width="500" height="500" id="testCanvas"></canvas>

<script type="text/javascript">
  function draw() {
    const canvas = document.getElementById('testCanvas')
    const ctx = canvas.getContext('2d') //取得2d 画布上下文

    const _cols = 16
    const _rows = 16

    // 先获取每个图形格子的大小
    const _space = canvas.width / _cols

    // 绘制线条
    for (let i = 0; i < _cols; i++) {
      ctx.beginPath(); // 开启路径,设置不同的样式
      ctx.moveTo(_space * i - 0.5, 0); // -0.5是为了解决像素模糊问题
      ctx.lineTo(_space * i - 0.5, canvas.height);
      ctx.setLineDash([1, 2]); //绘制虚线
      ctx.strokeStyle = "#2a2a2a"; // 设置每个线条的颜色
      ctx.stroke();
    }
    // 同理y轴
    for (let i = 0; i < _rows; i++) {
      ctx.beginPath(); // 开启路径,设置不同的样式
      ctx.moveTo(0, _space * i - 0.5);
      ctx.lineTo(canvas.width, _space * i - 0.5);
      ctx.strokeStyle = "#2a2a2a";
      ctx.stroke();
    }
  }
  window.addEventListener('load', draw, false)
</script>
鼠标绘制颜色
注意:鼠标事件能获取的坐标信息有三个,page、offset、client这里得使用 offset,否则会出错
console.log('page: ', e.pageX, e.pageY)
console.log('offset: ', e.offsetX, e.offsetY)
console.log('client: ', e.clientX, e.clientY)

 const map = []
 // 先初始化 map
 for (let y = 0; y < _rows; y++) {
   const temp = []
   for (let x = 0; x < _cols; x++) {
     temp.push(0)
   }
   map.push(temp)
 }

 // 监听鼠标事件,判断当前点击了哪个格子
 canvas.onmousedown = (e) => {
   const x = Math.floor(e.offsetY / _space)
   const y = Math.floor(e.offsetX / _space)
   // 点击更新该区域的编号
   map[y][x] = 1
   // 刷新画布
   for (let y = 0; y < _rows; y++) {
     for (let x = 0; x < _cols; x++) {
       if(map[x][y] !== 0) {
         // 绘制
         ctx.fillRect(x * _space, y * _space, _space, _space)
       }
     }
   }
 }
取色板
这里先制作这个取色板
切割地图集
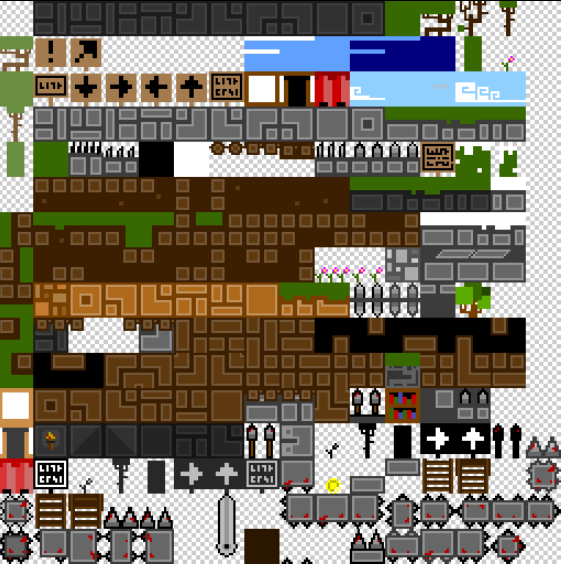
存储 Tileset 最有效的方式是地图集或子画面表。这是在单个图像文件中分组在一起的所有所需磁贴。当需要绘制磁贴时,游戏画布上仅呈现此较大图像的一小部分。如下 RPGMaker 就是使用的 Tileser
这里提供教程所用的 Tileset

第一步就是将这个地图集切开(这里直接演示如何取得数据,实际在下一节才正式开始使用)
function draw() {
  let ctx = document.getElementById('canvas').getContext('2d')
  let img = new Image()
  img.onload = () => {

    let tileColsNum = 5; // 图的宽度,以列表示
    let tileRowsNum = 1; // 图的高度,以行为中

    let sWidth = img.width / tileColsNum; // 切图的宽度
    let sHeight = img.height / tileRowsNum; // 切图的高度

    for (let col = 0; col < tileColsNum; col++) {
      for (let row = 0; row < tileRowsNum; row++) {

        ctx.drawImage(img,
          col * sWidth, // 开始切的 X 位置
          row * sHeight, // 开始切的 Y 位置
          sWidth, sHeight, // 切的高度和宽度
          col *( sWidth + 10) ,  row * sHeight, // 显示的位置
          sWidth, sHeight) // 显示的高度和宽度

      }
    }
  }

  img.src = './src/img/tiles.png'
}

window.addEventListener('load', draw, false)
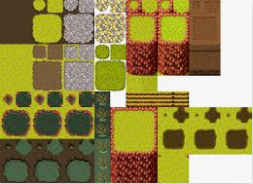
绘制效果如下

Map 取得格子位置
// 根据鼠标点击取得格子
canvas.onmousedown = (e) => {
  console.log(map[Math.floor(e.offsetY / _space)][Math.floor(e.offsetX / _space)])
}
绘制方格背景

  /**
   * 绘制背景方格
   * @param {CanvasRenderingContext2D} ctx 传入 canvas 的 Context
   * @param {Number} width 画布的宽度
   * @param {Number} height 画布的高度
   */
  static drawBackground(ctx, width, height) {
    let emptyBox = ctx.createImageData(width, height)
    let emptyBoxData = emptyBox.data

    // 通过 canvas宽高 来遍历一下 canvas 上的所有像素点
    for (let i = 0; i < height; i++) {
      for (let j = 0; j < width; j++) {
        let point = (i * width + j) << 2 // << 相当于 * 4
        let rgbData = ((i >> 2) + (j >> 2)) & 1 ? 204 : 255 // >> 2 相当于 / 4 取整, & 1相当于 % 2
        emptyBoxData[point] = rgbData
        emptyBoxData[point + 1] = rgbData
        emptyBoxData[point + 2] = rgbData
        emptyBoxData[point + 3] = 255
      }
    }

    ctx.putImageData(emptyBox, 0, 0)
  }
存储 Tile贴图中格子的位置
要存储该图数据,可以使用一个自定义类
/**
 * 单个 Tile 在图片的位置
 */
class Tile {
  /**
   * Tile 在贴图里面的位置,以及保存它的路径偏移量(贴图位置和路径偏移量无关,后者是保存它显示在屏幕的位置)
   * @param {Number} x Tile 在贴图里的起始 x
   * @param {Number} y Tile 在贴图里的起始 y
   */
  constructor(x, y) {
    this.x = x
    this.y = y
  }
}

/**
 * TileImage 里面的 Tile
 */
export class TileMap {
  /**
   *
   * @param {Number} cols Tile贴图的宽度(一列有多少个 Tile)
   * @param {Number} rows Tile贴图的高度(一行有多少个 Tile)
   * @param {HTMLImageElement} img 这里传入的 Tile 贴图,必须放在 onload 里面执行
   */
  constructor(cols, rows, img) {
    this.cols = cols
    this.rows = rows
    this.img = img

    this.tiles = []
    this.sWidth = 0 // 每个单元格的宽度
    this.sHeight = 0 // 每个单元格的高度

    this.sWidth = this.img.width / this.cols // 切图的宽度
    this.sHeight = this.img.height / this.rows // 切图的高度

    for (let col = 0; col < this.cols; col++) {
      for (let row = 0; row < this.rows; row++) {
        this.tiles.push(new Tile(col * this.sWidth, row * this.sHeight))
      }
    }
  }
  /* 省略一堆 getter */
}
鼠标获取 Tile
需要实现一个鼠标移动到某个 Tile 上面就能获取对应的 Tile 编号
注意:鼠标事件能获取的坐标信息有三个,page、offset、client这里得使用 offset,否则会出错
console.log('page: ', e.pageX, e.pageY)
console.log('offset: ', e.offsetX, e.offsetY)
console.log('client: ', e.clientX, e.clientY)
主要就用到这三个事件:onmouseup、onmouseout、onmousedown
// 监听鼠标事件,松手时刷新画布
canvas.onmouseup = (e) => {
  ctx.clearRect(0, 0, canvas.width, canvas.height)
  DrawUtility.drawAllTile(ctx, map, posList)
}

// 移出画布也刷新
canvas.onmouseout = (e) => {
  ctx.clearRect(0, 0, canvas.width, canvas.height)
  DrawUtility.drawAllTile(ctx, map, posList)
}

// 监听鼠标事件,判断当前点击了哪个区域
canvas.onmousedown = (e) => {
  for (let index = 0; index < map.getTiles().length; index++) {
    if (
      ctx.isPointInPath(
        posList.getTilePosOfArray(index).path,
        e.offsetX,
        e.offsetY
      )
    ) {
      console.log(`点击了 ${index}`)
      DrawUtility.drawDarkTile(ctx, posList, index)
    }
  }
}
事件功能
因为涉及到很多的状态改变,例如更换了图层,导入了新数据,显示模式改变了等等问题,所以需要使用事件来将它们解耦,控制层只需监听某一时间的发生就行了
例如遇到某种状态改变了需要发出刷新事件
// 监听显示模式(这里对 Vuex 的值进行监听)
$store.watch(
  () => $store.state.isShowAllLayer,
  val => {
    isShowAll = new Boolean(val).valueOf();
    window.dispatchEvent(new CustomEvent("refreshData")); // 通知更新数据
  }
);
而在控制层对这个事件进行监听刷新
// 定义一个刷新事件的监听
window.addEventListener("refreshData", () => {
  // 这里进行刷新操作
});
实现撤回功能
这个撤回实际上就是一个入栈和出栈的过程,因此自己维护一个栈就行了
import Grid from "./VO/Grid";

/**
 * 自定义的栈结构,主要用来维护 画布数据
 */
export default class MapStack {
  private arr: Array<{ layer: number; map: Grid[][] }>;

  constructor() {
    this.arr = [];
  }

  /**
   * 压栈操作
   * @param { { layer: number, map: Grid[][] }} mapInfo
   */
  push(mapInfo: { layer: number; map: Grid[][] }): void {
    this.arr.push(mapInfo);
  }

  /**
   * 退栈操作
   */
  pop(): { layer: number; map: Grid[][] } {
    return this.arr.pop() as { layer: number; map: Grid[][] };
  }
  /**
   * 获取栈顶元素
   */
  top(): { layer: number; map: Grid[][] } {
    return this.arr[this.arr.length - 1];
  }
  /**
   * 清空栈
   */
  clear(): boolean {
    this.arr = [];
    return true;
  }
}
每次写入后要及时入栈
然后再在控制层去监听 Ctrl + Z
// 监听撤回键(使用栈)
document.onkeydown = e => {
  if (e.ctrlKey == true && e.key == "z") {
    // 如果栈内不为空才撤回
    if (recallMap.size() !== 0) {
      // 弹栈
      const temp = recallMap.pop();
      gridManagerArray[temp.layer].setMap(temp.map);
      window.dispatchEvent(refreshEvent); // 通知更新数据
    }
  }
};
区域更新
如果每一帧都刷新全部数据会浪费很多性能,而且有多层数据就更雪上加霜了
创建一个 cacheMap 来记录修改了的位置,它会在下一帧更新
import BasePos from "./VO/BasePos";

export default class CacheMap {
  private cols: number;
  private rows: number;
  private map: boolean[][];

  constructor(cols: number, rows: number) {
    this.cols = cols;
    this.rows = rows;

    this.map = [];

    // 每个数组都需要先初始化 默认是 false
    for (let i = 0; i < rows; i++) {
      const temp: boolean[] = [];
      for (let j = 0; j < cols; j++) {
        temp.push(false);
      }
      this.map.push(temp);
    }
  }

  /**
   * 返回被修改的位置
   * @returns {ModifiedPos[]} 里面是被修改的位置,需要被更新
   */
  getChange(): BasePos[] {
    const list: BasePos[] = [];

    // 如果有被修改的则把这个位置添加到 List 里面
    for (let i = 0; i < this.rows; i++) {
      for (let j = 0; j < this.cols; j++) {
        if (this.map[i][j]) {
          list.push(new BasePos(i, j));
        }
      }
    }

    return list;
  }

  /**
   * 标识这个地方被修改了
   * @param x 被修改的 x 坐标
   * @param y 被修改的 y 坐标
   */
  setChange(x: number, y: number): void {
    this.map[x][y] = true;
  }

  /* ............. */

  /**
   * 当更新完成之后要归零
   */
  cleanChange(): void {
    for (let i = 0; i < this.rows; i++) {
      for (let j = 0; j < this.cols; j++) {
        this.map[i][j] = false;
      }
    }
  }
}
而在将每一帧刷新数据,改成只有 Cache 改变后才进行重新渲染
// 局部刷新
    const modif = cacheMap.getChange();

for (let i = 0; i < modif.length; i++) {
  // 先清空指定的位置
  DrawTools.clearTile(
    ctx,
    space,
    gridManagerArray[layer].getGrid(modif[i].x, modif[i].y).x,
    gridManagerArray[layer].getGrid(modif[i].x, modif[i].y).y
  );
  // 因为有多层数据,所以这里遍历刷新每一层的这个位置
  for (let j = 0; j < gridManagerArray.length; j++) {
   RendererTools.changeTile(
     gridManagerArray,
     j,
     modif,
     i,
     tileManager,
     ctx,
     space
   );

}

// 更新完成后要归零
cacheMap.cleanChange();
填色算法
参考资料 CGA填充算法之种子填充算法(因为格子数量不多,所以这里就不使用扫描线算法了)
PS 中的油漆桶其实一般用作填色,例如点击这个画好的圈里面会自动填满它而不会跑到外面来

这里使用 4-联通算法
注: 8-联通 和 4-联通只是在判断的数量上有区别,下图蓝色的是 4联通,红色是8联通的效果

// 4联通要判断的方向
const direction_4 = [
  { offsetX: -1, offsetY: 0 },
  { offsetX: 1, offsetY: 0 },
  { offsetX: 0, offsetY: -1 },
  { offsetX: 0, offsetY: 1 },
]

// 8联通要判断的方向
const direction_8 = [
  { offsetX: 0, offsetY: -1 },
  { offsetX: 0, offsetY: 1 },
  { offsetX: -1, offsetY: 0 },
  { offsetX: 1, offsetY: 0 },
  { offsetX: -1, offsetY: 1 },
  { offsetX: -1, offsetY: -1 },
  { offsetX: 1, offsetY: 1 },
  { offsetX: 1, offsetY: -1 },
]
注入填充算法
Flood Fill Algorithm
这个可以用来实现颜色替换
注入填充算法没有边界的概念,只是对联通区域内 指定的颜色进行替换
function floodSeedFill(map, x, y, oldValue, newValue, maxX, minX, maxY, minY) {

  // 要做边界值判断
  if (
    x > maxX ||
    x < minX ||
    y > maxY ||
    y < minY) {
    return
  }

  // 递归条件就是某个方向上指定的位置为旧值
  if (map[x][y] == oldValue) {
    map[x][y] = newValue
    for (let i = 0; i < direction_4.length; i++) {
      const newX = x + direction_4[i].offsetX
      const newY = y + direction_4[i].offsetY
      floodSeedFill(map, newX, newY, oldValue, newValue, maxX, minX, maxY, minY)
    }
  }
}
边界填充算法
Boundary Fill Algorithm
这个与上面那个注入填充侧重的方向不同,这个更在于的是边界(指定的颜色为边界),它会替换指定边界内的所有值
function BoundarySeedFill(map, x, y, boundaryValue, newValue, maxX, minX, maxY, minY) {
  // 要做边界值判断
  if (
    x > maxX ||
    x < minX ||
    y > maxY ||
    y < minY) {
    return
  }

  if (map[x][y] !== boundaryValue && map[x][y] !== newValue) {

    map[x][y] = newValue
    for (let i = 0; i < direction_4.length; i++) {
      const newX = x + direction_4[i].offsetX
      const newY = y + direction_4[i].offsetY
      BoundarySeedFill(map, newX, newY, boundaryValue, newValue, maxX, minX, maxY, minY)
    }
  }
}